Alice in Wonderland Party Printables: Banner, Toppers, Labels and More
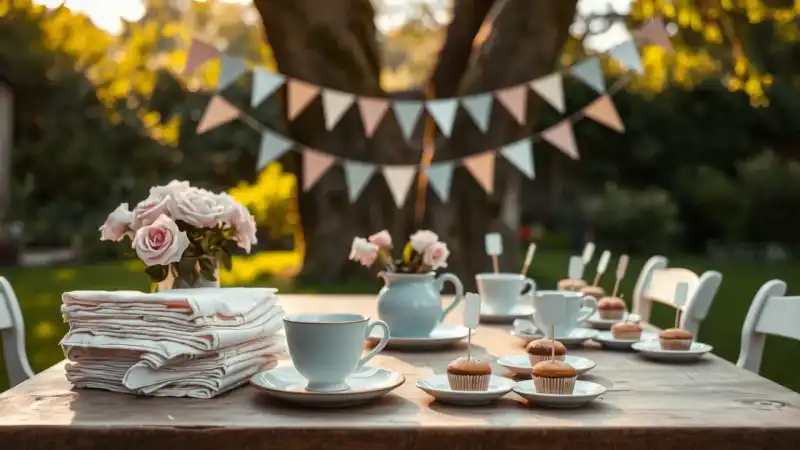
A bunting banner in teacup blue, pink and cream, with a cheerful “Happy Un-Birthday” across the pennants, sets the tone for an Alice in Wonderland tea party. Add matching cupcake toppers, round thank you tags and food labels, and the whole table looks planned. This set was built to work for more than one party, so the pieces are easy to adapt.
Below is what each piece includes, how to make your own in any design app or by hand, and how to use it on party day.
What goes in an Alice party printable set?
Five pieces cover most of the table and the goodbye:
- Un-birthday banner: one pennant per letter, so the phrase reads across the wall or dessert table.
- Cupcake toppers: small circles or flags with playful motifs.
- Thank you circles: round tags for favor bags or treat boxes.
- Blank food labels: folded tent cards where you write each dish name.
- “Take One” labels: small signs for cookies, candies or favors guests can help themselves to.
How do you design them?
Choose a short palette and repeat it everywhere. Soft aqua, pink, gold and black-and-white checks feel right for the theme. Pair a curly storybook-style font for headlines with a plain, readable font for small words.
Motif ideas inspired by the story include teacups, playing-card hearts and spades, pocket watches, keys, roses, top hats and a striped cat grin. Keep each piece to one or two motifs so it does not look crowded.
- Banner pennants: about 5 by 7 inches each, one letter per pennant, with a solid or checked background.
- Toppers and thank you circles: 2 inches across for cupcakes, 2.5 to 3 inches for favor tags.
- Food labels: about 3 by 4 inches, folded in half to stand up. Leave the front blank on the plain version so you can write in the name.
- “Take One” labels: a short phrase with a small icon, sized to sit in front of a tray.
How do you print and put them together?
- Build each design on a letter-size page (8.5 by 11 inches), repeating small shapes to fill the sheet.
- Print on white cardstock for banners, labels and tags. Regular paper is fine for toppers if you glue them to cardstock.
- Cut with scissors, a paper trimmer or a circle punch. A punch gives clean circles fast.
- For the banner, punch two holes at the top of each pennant and thread twine or ribbon through in order. Check the spelling before you tie off.
- For toppers, glue each circle to a toothpick or lollipop stick with a dab of craft glue or double-sided tape. Let it dry before pressing it into frosting.
- For thank you circles, punch a hole, tie on with ribbon, or stick them on with a sticker dot or tape.
How do you use them on the day?
Hang the banner behind the dessert table, where it frames the cake and cupcakes. Put the folded labels in front of each plate or bowl, with the “Take One” signs near favors. Place the toppers on cupcakes shortly before guests arrive, since moisture can curl the paper over time.
Tuck a thank you circle on each favor bag as guests leave. If you are hosting two parties with the same theme, print one set and change only the banner wording or the colors of the toppers to personalize each.
Foods that suit the labels include tea sandwiches, sugar cookies, fruit and cupcakes. Label the cookies “Take One” or tent-card the sandwiches with a name written in a fine marker. If any dish contains nuts, dairy or eggs, note that on its label so guests with allergies can see it at a glance.
What if you want to make them by hand?
You do not need software. Trace circles with a jar lid, cut pennants from patterned scrapbook paper, and write the letters with a paint pen. The handmade look suits a tea party just as well.