Owl Birthday Party Printables: A Hand-Made Set for Any Age
An owl birthday party comes together around a small set of matching paper pieces: a welcome sign for the door, scalloped circles strung along a wall, fancy labels for the food table, wrapped drinks, invitations and little thank you tags. Each piece is made without a name or age, so the set works for any birthday.
Below is what each piece looks like and how to make and print your own in any design app or by hand.
What pieces make up an owl birthday party set?
The set has seven parts:
- Welcome sign: a large owl with a short greeting, printed on cardstock.
- Party circles: small circles with owl faces or patterns, printed on cardstock and punched out.
- Large party circles: the same idea in a bigger size, trimmed with scissors or a circle cutter.
- Fancy labels: decorative cards for naming foods on the buffet, printed on cardstock.
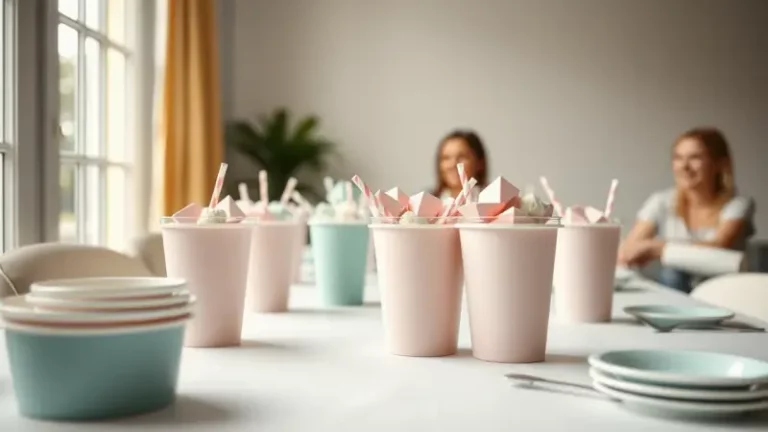
- Drink wraps: narrow bands that wrap around cups or bottles.
- Invitations: a card with blank lines for the date, time and place, which guests or hosts fill in by hand.
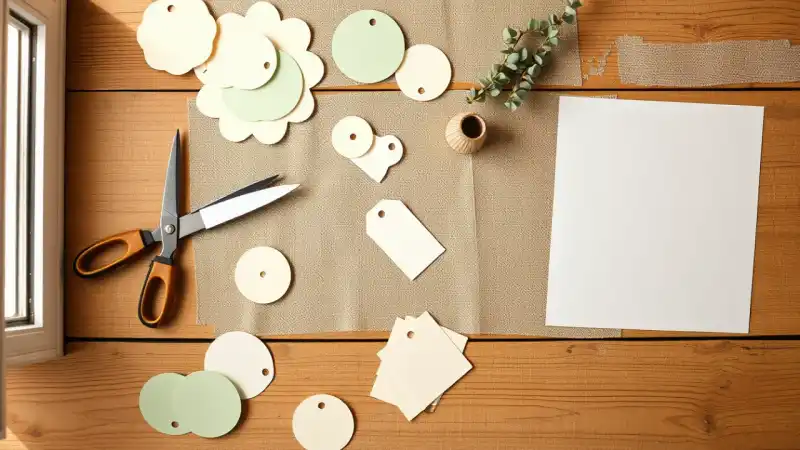
- Thank you tags: small tags cut apart after printing, ready to attach to favors.
How do you design the owls?
Keep one simple owl shape and repeat it. A rounded body, two big circle eyes, a small triangle beak and a pair of wings is enough. Pick a palette of three or four colors, for example aqua, coral, chocolate brown and cream, and use a patterned paper or a plain background for contrast.
Choose one or two fonts: a playful one for headings and a plain one for details. Leave the invitation lines empty, and avoid names or ages on the sign and tags so the pieces can be reused.
Build each page at the size you will print. Letter-size sheets (8.5 by 11 inches) work for the sign and invitations. For circles, arrange as many as fit on a page, with a little space between them for cutting.
How do you print and cut them?
- Print the sign, circles, labels, invitations and tags on white cardstock.
- Punch the small circles with a circle punch, or trim them with scissors. Cut the large circles with scissors or a circle cutter.
- Cut the thank you tags apart with a paper trimmer for straight edges.
- Print the drink wraps on waterproof sticker paper. Cold cups sweat, and moisture can make ink on regular paper bleed.
- Peel and wrap the stickers around cups or bottles once the ink is dry.
Where do the pieces go at the party?
Hang the welcome sign at the entrance, where guests see it first. String the circles along a wall or over the dessert table, mixing the small and large sizes for a layered look. Stack them on a ribbon or tape them in rows behind the cake.
Set the fancy labels in front of each dish, such as cupcakes, popcorn or fruit. Name the foods with owl-themed puns if you like, such as “hoot snacks” or “nest bites.”
Wrap drinks just before guests arrive. Send the invitations two to three weeks ahead, after filling in the details by hand. Tie the thank you tags onto small bags of treats at the end of the party.
Can you personalize the set?
Yes. Add a child’s name and age to the sign and invitations, or change the colors to suit the room. If you make your own, use the same fonts and colors across all seven pieces so they look like a set.
These designs are for personal party use. Make a fresh set for each celebration rather than copying or reselling someone else’s artwork.