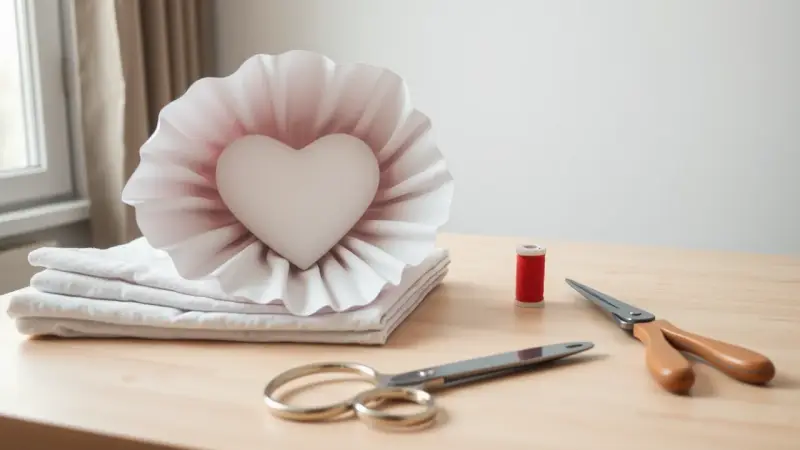
Pretty Polkadot Valentine Pillow Cover with a Textured Heart
What does the finished pillow look like?
This pillow cover has a polka dot front with a heart cut out of the center. Behind the opening sits a white heart with a pleated, puckered texture, so the heart looks soft and dimensional. The back closes with an envelope opening, so the cover slips on and off an existing pillow form.
It is a good project for a home with no mantel, because a couch pillow brings Valentine’s Day color to a seat you already use. Plan on about two and a half hours from cutting to the last stitch. The sizes below fit one particular pillow, so measure yours and adjust.
What do you need?
- Polka dot fabric cut into a 22 in. square for the front, two 22 in. x 10 in. panels, and one 22 in. x 15 in. piece
- White fabric cut to 12 in. x 13 in.
- A heart template, printed or drawn and cut from paper
- Scissors, thread, measuring tape and pins
- A sewing machine and an iron
How do you make the textured white heart?
- Fold the white fabric in half along the 12 in. side and pin the fold. Open it, lay the tape beside that pin, pinch the fabric at the next measured mark and pin a new fold. Repeat across the full length.
- Stitch along each pinned fold so the pleats stay in place.
- Turn the piece and pin a second set of marks across the pleats, starting at the center and following a diagram or a pattern you plan yourself. Stitch along those lines, alternating direction, to create the quilted, puckered texture.
Test the spacing on scrap fabric first. Closer folds give a puffier surface, and wider ones look calmer.
How do you assemble the cover?
- Trace the heart template onto the wrong side of one 22 in. x 10 in. panel and cut it out. Cut slowly and neatly, because the heart you remove can be used on another project.
- Lay that panel on the 22 in. square. Position it where you want the heart to sit on the finished pillow, then trace the heart onto the square and cut it out too.
- Pin the two polka dot hearts together with right sides facing, then stitch around the edges and remove the pins as you go. Turn the pieces right side out and press them flat.
- Pin the textured white piece behind the heart opening and stitch around the edge. A second line of stitching adds strength and a neat finish.
How do you sew the envelope back?
On each of the remaining panels, press one long edge in half an inch, then half an inch again. Stitch along the pressed fold to make a clean hem.
Place the front and back panels together with right sides facing, overlapping the hemmed edges in the middle. Pin all around and stitch the outer edge, removing pins as you go. Reinforce the envelope opening with extra rows of stitching, since that area takes the most strain when a pillow is pushed in and out. Finish the raw edges with a zig zag stitch to stop fraying.
Turn the cover right side out, push the corners out gently and insert the pillow. If the front looks wrinkled around the heart, press it again from the wrong side.
What if my pillow is a different size?
Measure the pillow form, then keep the front square about the same size as the form so the cover fits snugly. For the back, cut two panels with the same width as the front and a height of a bit over half the front height, so they overlap. Scale the white heart backing to extend about an inch past the heart opening on every side.