Rocket Party: Push-Up Pop Rockets, Star Mobiles and a Cardboard Photo Booth
Picture a party table where push-up pop containers have been turned into little rockets, planets made of cake pops float beside paper lanterns, and every child has a seat with their own name. This rocket party was planned for about 14 children ages 2 to 5, with a 10am start and breakfast-style finger foods.
The plan below is organized by timeline, so you can spread the work out. Everything is easy to adjust to your own space and guest list.
A Week Before
Choose the look. Red, white and blue with striped ribbon works well. Pick one invitation design and let it guide the rest of the decor, including the photo booth paint colors.
Make the printables. If you can’t find rocket party printables you like, design your own in any design app. You’ll want:
- Place cards, one per child, so each guest has a seat of honor.
- Round labels or party circles for cups. Cupcake topper circles work well.
- A banner whose wording fits the theme, such as a blast-off message, strung on striped ribbon.
- A rocket game poster with windows (see below).
Sew a rocket shirt. A plain tee with a fabric rocket appliqué makes an easy birthday outfit that gets worn again afterward.
Build the photo booth. Cut a window in a large appliance or television box, then paint it with acrylics. Borrow shapes and colors from the invitation. It’s sturdy enough for toddlers to climb into.
Make party hats and the wreath. Cone hats for each child are a big hit. A blast-off birthday wreath on the front door welcomes guests.
The Day Before
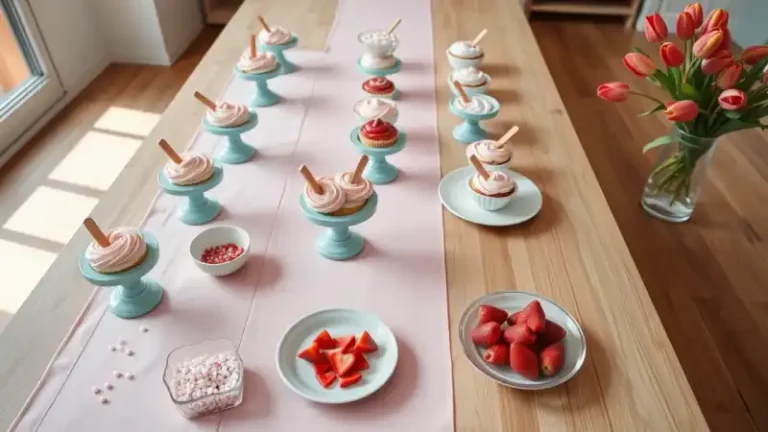
Turn push-up pop containers into rockets. Decorate the containers with paper cones for the nose and fins cut from cardstock. Fill them with your favorite pop mixture, such as cake and frosting layers or ice cream. Check each container for fit before you add the fins.
To display them, spray paint a block of floral foam and wrap it in striped ribbon. Add a die-cut rocket, then poke the containers into the foam so they stand upright.
Make the centerpieces.
- Cut a Styrofoam ball in half and spray paint it for a planet look.
- Set the half on the table flat side down.
- Stand cake pops in it: little Earths and one rocket.
Spray paint a clearance frame to match the decor and place a copy of the invitation inside.
Make a floating centerpiece. Hang star mobile pieces with red paper lanterns that look like planets over the table.
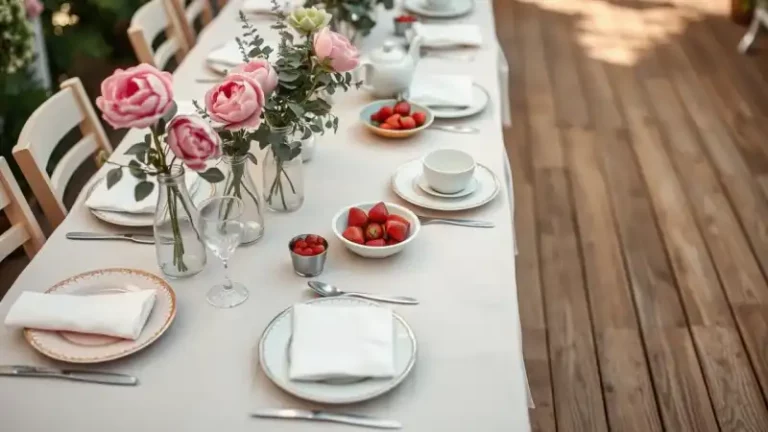
Set the table.
- Use coordinating fabric as table runners.
- Use 12 x 12 inch sheets of scrapbook paper as inexpensive placemats.
- Put a decorated cup and a place card at each seat.
Prep the craft. Gather a bucket of space-themed foam stickers and plain foam bookmarks. Set out white lunch sacks.
On the Day
Food. A 10am start suits breakfast finger foods, so serve small bites that little hands can manage. Put the push-up pops and cake pops out as the sweet treats.
Craft. Each child decorates a foam bookmark with space stickers. When they finish, the bookmark and the cup go in a lunch sack, and the child’s place card gets stapled to the top so every bag is clearly labeled. Children who finish early can decorate the outside of the bag with extra stickers. An adult should handle the stapler, and keep small stickers away from children under three.
Game. Make a pin-the-tail style game from a large rocket drawing with several windows. Each child sticks a name label or a die-cut circle in a window. Photos of the children would be a nice touch, but plain circles work just as well, and the kids won’t notice the difference.
Photo booth. Let each child step inside the box for a picture. Send the prints with thank you notes.
Have a backup plan. An outdoor party is risky in unpredictable weather. If rain is forecast, a dining room and living room can hold a table of this size, and the craft keeps guests busy.