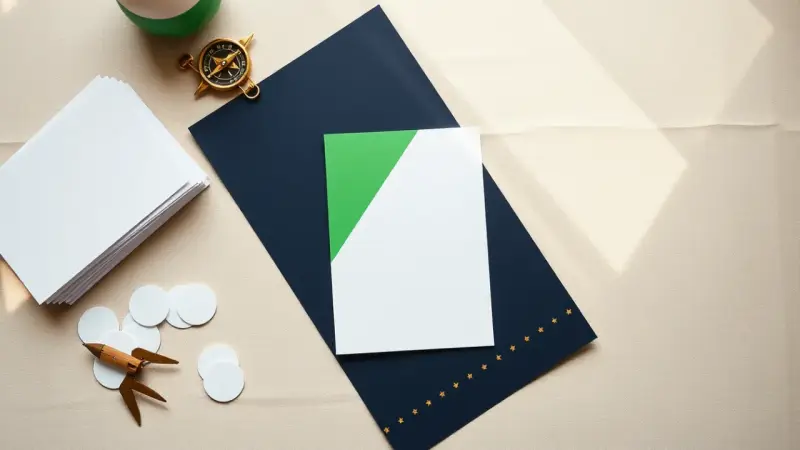
Rocket Party Printables: Invitation, Circles, Star Paper and Banners
A rocket party looks best when everything shares one look: a starry backdrop, a bold green diagonal stripe and clean white labels. The set has six pieces: a blank invitation, party circles, star patterned paper, blank fancy labels, letter banner panels and number banner panels.
Here is how each piece is designed, so you can build the whole set by hand or in any design app, with no special software.
The design of each piece
Blank invitation. Make a portrait card with a star-filled top edge and a wide empty area for the details. Leave the middle blank so you can write or type the date, time, place and the guest of honor’s age. Add a small rocket shape near the top if you like.
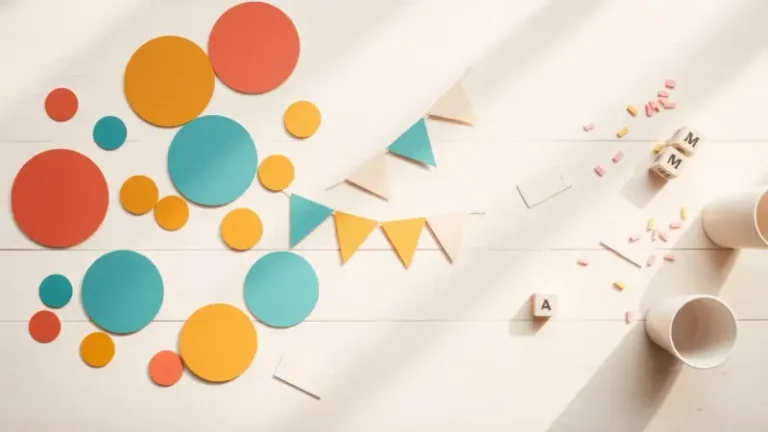
Party circles. These are plain round shapes in a few sizes. They work as cupcake toppers, drink flags, favor stickers or garland pieces. Use a solid color, a stripe or a star print to fill them.
Star patterned paper. Choose a deep navy or night-sky blue background with small scattered stars in white and yellow. It is the backdrop paper that ties the set together. Use it for banner backs, table runners, treat bag liners and card layers.
Green diagonal stripe. Use bright green stripes running at an angle, balanced with white or pale blue. Pair them with the star paper so no single pattern takes over.
Blank fancy labels. Draw labels with scalloped or decorative borders and an empty center. Write on them for food tables, such as “Rocket Fuel” for a drink or “Moon Rocks” for snacks. The same labels can mark favor bags.
Letter and number banner panels. Each panel is one large letter or number on a pennant or square. Letters spell a greeting such as “Happy Birthday” or a name. Number panels show the age. Use a thick, simple typeface so they read from across the room.
How to make your own
- Pick a palette first: navy, green, white and a touch of yellow.
- In a design app or a word processor, set the page to letter size, 8.5 by 11 inches.
- Build the star paper by scattering small star shapes over a dark fill. Vary the sizes so the pattern looks natural.
- Add the diagonal stripes as a second pattern on a separate page.
- For the circles, draw shapes in the sizes you want, such as 2 inches for toppers and larger ones for garland. Fill them with your patterns.
- For banner panels, place one big letter or number per page and add a pattern border.
- Prefer to work by hand? Cut patterned scrapbook paper to the same shapes and add letters with stickers or a marker.
Printing and using the set
Print on white cardstock for banners, invitations and labels. It holds its shape and keeps colors rich. Regular paper is fine for table liners and wrapping. Trim with a paper trimmer or sharp scissors, and use a circle punch if you have one for neat circles. Adults should handle the blades.
- Banner: Punch two holes in the top corners of each panel and thread them onto ribbon or twine in order. Hang the letters on one line and the number on a second, shorter line.
- Table: Glue circles to toothpicks for cupcake toppers. Fold the labels into tents or tape them to the front of serving bowls.
- Favors: Seal treat bags with a circle sticker. Use star paper as a pretty liner or fold it into a small cone.
- Invitation: Layer the card on a slightly larger sheet of star paper for a framed look, then slip it into a plain envelope.
Print one test page first so you can check that the colors look right and the stripes line up before you print the whole set. Keep small parts such as toothpicks away from children under three.