Washi Tape Notecard Set for Birthdays and Thank-Yous
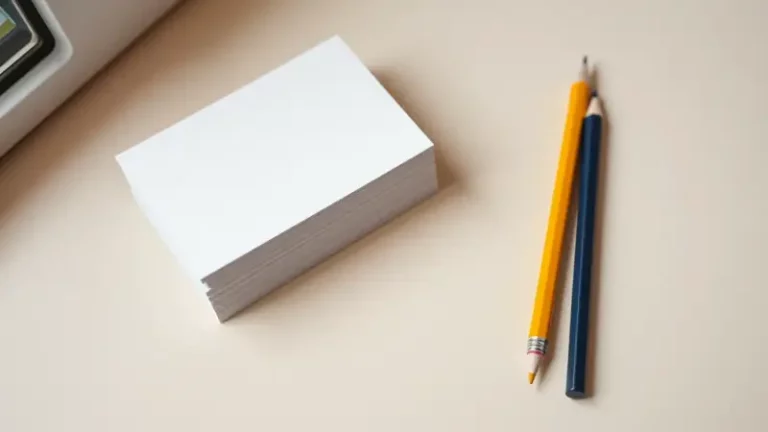
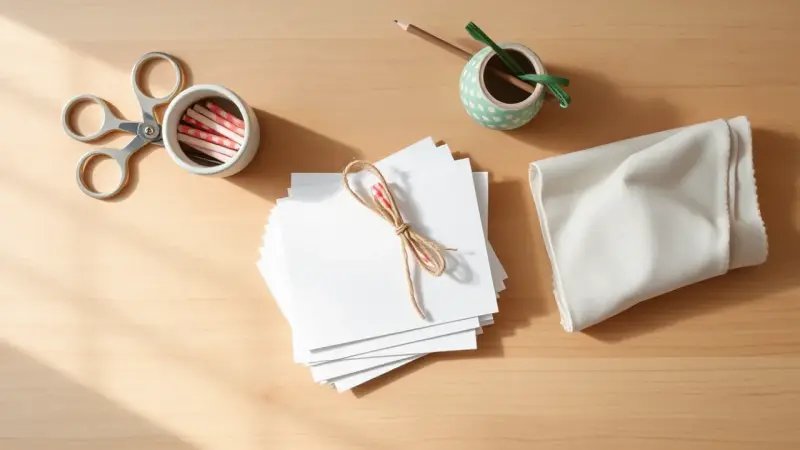
A stack of crisp white notecards, each striped, checked or dotted with colorful washi tape, makes a thoughtful gift that costs very little. Tied with twine, a set is ready to give for a birthday, a thank-you or a just-because surprise.
The cards are quick enough to make in one sitting, and children can decorate their own. Here is everything you need to make a set.
What do you need to make washi tape notecards?
- White card stock (letter-size sheets work well)
- Washi tape in several colors and patterns
- Envelopes that fit a folded card
- Scissors
- Baker’s twine or ribbon for packaging
Choose tapes that share a color family so the set looks planned. Two or three patterns plus one solid usually looks balanced. A bone folder or the edge of a ruler helps you make a sharp fold, but neither is required.
How do you make them?
- Cut each sheet of card stock in half to make two pieces, each 5.5 inches by 8.5 inches.
- Fold each piece in half to form a notecard. Run a fingernail or ruler along the fold so it lies flat.
- Lay strips of washi tape across the front of the card. Let each strip hang a little past the edge instead of stopping exactly at it.
- Trim the overhanging tape flush with the card edge using scissors. This gives a clean, professional finish and avoids wobbly edges.
- Check that the tape is pressed down firmly, then slip the card into its envelope.
Let the tape overhang rather than try to line it up exactly. Cutting the extra off afterward is much easier than placing a short strip perfectly.
What design ideas work best?
Parallel horizontal stripes are the easiest and look tidy. You can also try vertical bands, a single wide stripe across the middle, or a corner wrapped with a diagonal strip. For a patchwork look, tear short pieces and overlap them slightly. Keep the inside plain white so there is room for a handwritten message.
If you are making a set for one person, vary the patterns but keep the palette consistent. If you are making a set for several people, give each card its own design so every note feels personal.
Can kids make their own?
Yes, and it is one of the easier crafts for small hands. Let each child pick the rolls they like. An adult can tear off lengths of tape and hand them over, and the child can stick them wherever they please. There is no wrong way to place them, and the random look is part of the charm.
Children who are not writing yet can fill the inside with crayon scribbles or drawings. Grandparents and other relatives often treasure these more than anything store-bought. Adults should handle the scissors for trimming, especially with younger children.
How do you package a set as a gift?
Stack three to six cards with their envelopes and wrap a length of baker’s twine around the middle. Finish with a bow. A set also looks nice slipped into a clear cellophane bag, or tucked into a small box with a pen.
For a birthday gift, have each family member write a short message inside one card. The recipient can open one a day or read them all at once. This works especially well when you cannot be there in person, because the cards can be mailed or left to be opened on the day itself.
What mistakes should you avoid?
- Do not stop the tape right at the card edge. It will look uneven.
- Do not stretch the tape as you apply it. Stretched tape can curl or lift later.
- Do not cover the fold with a lot of tape. Thick layers make the card hard to close neatly.
- Test a small strip on a scrap first if your card stock is textured, since some tapes grip less well on rough paper.