A Guide to Getting Great Back to School Pictures on the First Day
A child on the front step in a new outfit, backpack straps over both shoulders and a hand-lettered first day sign in hand: that photo gets taken once a year. Four things make it work: good light, a real smile, clear directions for the sign and a quick session.
None of these steps needs editing software, a flash or manual camera settings. A phone or a camera set on auto is enough.
Where is the best light for back to school pictures?
Go outdoors and find open shade. Indoor shots, even ones taken beside an open window, often come out dark, and a flash can give a child’s skin an odd color cast. Indoor lights are usually warm, so they push colors toward yellow and orange.
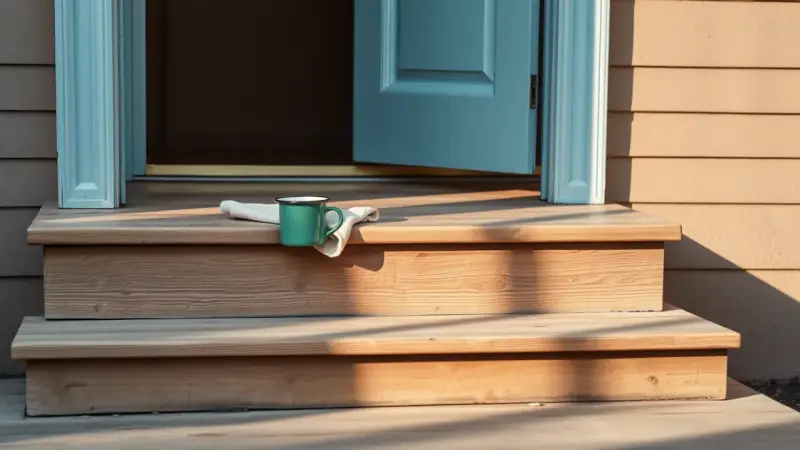
Open shade is the edge of a shaded area. The child stands just inside the shadow and faces out toward open sky. A covered front porch, an entryway, a courtyard or a tree all work, as long as the shade falls evenly across the face and not in dappled spots.
Watch where the sun is. Full sun makes kids squint and casts harsh shadows, and a bright sun directly behind a child can leave the photo hazy and the face in shadow. If there’s no shade, put the sun behind the child instead of asking them to look into it. On a rainy morning, move to a window or an open doorway and turn off the overhead lights.
Choose a spot you can use every year. When the same front step or shady corner of the yard shows up in every first day photo, it’s easy to see how much the child has grown.
How do you get a real smile instead of a forced “cheese”?
Skip “say cheese,” because it tends to produce a stiff, toothy grin. Get silly instead: dance, tell a goofy joke, make a ridiculous noise or ask about the day ahead. You’re after a genuine smile, and a real laugh is even better.
Get down to the child’s eye level and move in close, because the face matters more than the new shoes. Take a mix of shots: a posed portrait with the sign, a candid moment, and a detail shot such as the new backpack from behind, which shows how small a young child looked under it.
How should kids hold a first day of school sign?
Give directions before you hand over the sign. Tell the child where to hold it (below the chin so the face stays clear, with both hands on the edges) and where to look, then pass it over. Keep it to two or three calm, happy pointers, because a long list of corrections right before a big day adds stress.
Mention the photo the night before, especially in a child’s first year of school, so it doesn’t come as a surprise. Lay out the outfit and finish the sign that evening too, with the grade, the school year and a name or initial in letters big enough to read from across the porch. Solid-colored clothes photograph more cleanly than neon or busy patterns.
How long should a back to school photo session take?
Just a few minutes. School mornings are rushed, and a long session is the quickest way to get a grumpy face in every frame. Take a short burst, check that the eyes are sharp, then stop.
If a child starts losing patience, offer a small trade: they help with the posed shots, and then they get to pick one photo of their own, like running in new shoes or posing with a friend. Promise to print that photo for their own scrapbook or album.
When you’re photographing siblings, line them up side by side on the same line so nobody stands behind and ends up out of focus. On a camera in aperture priority mode, a lower f-number such as f/2.8 blurs the background more than f/5.6. Raise the number when you’re photographing more than one child so everyone stays sharp.