When Witches Go Riding: Halloween Party Printables
Picture a row of black-and-orange pennants spelling out Happy Halloween, with a witch silhouetted on her broom against a moonlit sky. Add small square toppers on cupcakes and a framed print on the dessert table. That is the witches-riding party set, and you can make every piece yourself.
The set has three parts: a letter banner with a few spooky bonus panels, cupcake toppers that double as party squares, and a single witches-riding print that ties everything together.
What goes on the banner panels?
You need one panel for each letter of “Happy Halloween”, which makes 14 panels. Add a few extra panels with spiders, jack-o’-lanterns and a black cat. These spacers break up the lettering and make the banner look fuller.
- Use heavy white or cream cardstock, or colored paper in orange, purple or black.
- Cut each panel as a square, or as a rectangle with a pointed pennant bottom. Five to six inches wide is easy to read from across a room.
- Choose one bold letter style and keep it the same on every panel. Dark letters on a light panel are easiest to read.
- Punch two holes at the top corners of each panel and thread them onto ribbon, twine or baker’s string. Leave the string long enough to tie at each end.
How do you make the cupcake toppers?
Make small squares of about two inches, each with one spooky image: a witch on a broom, a bat, a moon, a pumpkin or a cat. Print them on cardstock and trim them with scissors, a paper trimmer or a square punch. Then glue or tape each one to a toothpick or a lollipop stick. Toppers meant for food work best when the paper does not touch the frosting.
Keep a few spare squares for other uses:
- Attach one to a blank folded card for an invitation or a thank-you note.
- Stick them to serving dishes, jars or trays with a bit of adhesive, so the dessert table looks styled.
- Punch a hole in a square and tie it to a cake pop stick with a bit of ribbon.
- Use them as place cards or labels for treats.
How do you design and use the witches-riding print?
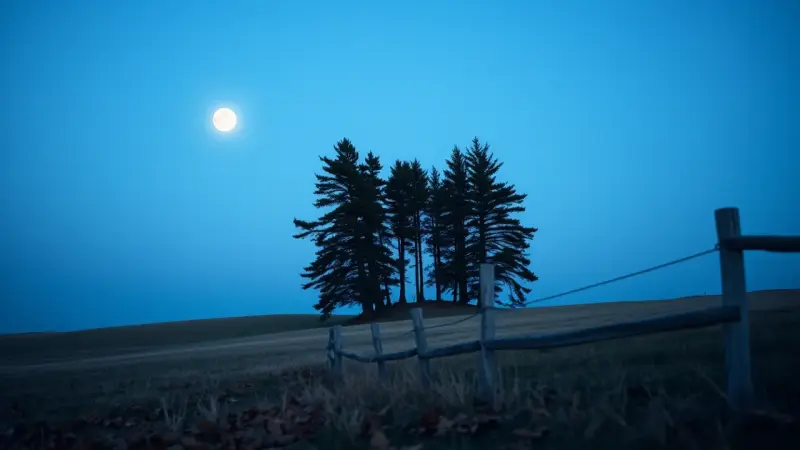
Choose a limited palette: black witch silhouettes, a big pale moon and warm orange or purple accents. Group a few witches flying across the sky at different heights, and leave plenty of empty space around them so the picture feels airy. If you want a hand-drawn look, cut the silhouettes from black paper and glue them onto a painted or colored backdrop.
Print it at 8 by 10 inches, or another standard frame size, on matte photo or cardstock paper. Then put it in a simple black or white frame. It looks good on a dessert table, a mantel or an entryway console. Prop it up behind the cupcakes and hang the banner above it, and you have a full party backdrop with very little work.
What colors and fonts keep the set matching?
Pick three colors and repeat them on all three pieces. Black, orange and a deep purple work well together. Use one bold, slightly playful font for the banner letters and a simpler one for any small text. Free design apps let you build all the pieces in one document, so the colors and fonts stay consistent. Print a single test page first to check the colors and the size of the letters.
What else goes with the set?
Pair the printables with other easy Halloween ideas:
- Tissue paper pumpkins made by kids, set along the table.
- Spooky decorated Oreo cookies on a platter.
- A second set of party labels for drinks and snacks.
Keep any homemade printables for your own use at home. When you cut with scissors or a craft knife, let an adult handle the sharp tools, and keep small paper pieces and toothpicks away from children under three.