Modern and Bright Nursery Ideas: A Colorful Room Built Around a Gallery Wall
The heart of this modern, bright nursery is the wall above the crib. It holds a handmade paper banner, framed art in crisp black and white, and a few punchy colors that repeat across the room. A polka dot crib sheet, heart-patterned pillows and a hand-stitched hoop keep the look playful without feeling busy.
The room works because the decor is concentrated in one place. Everything else stays simple, so the colors read as a plan and not as clutter. Here is how to build the same look.
The idea: one colorful focal wall, a calm everything else
Choose a palette first. Bright pink, coral, aqua and yellow against white walls and a white crib look fresh and modern. Pull every color from the same family of papers or fabrics, and the room will feel cohesive even when the patterns are different.
Then put most of your handmade pieces over the crib. That spot is the first thing you see from the doorway, so it gives the biggest payoff for your effort.
How to do it
Make a paper banner
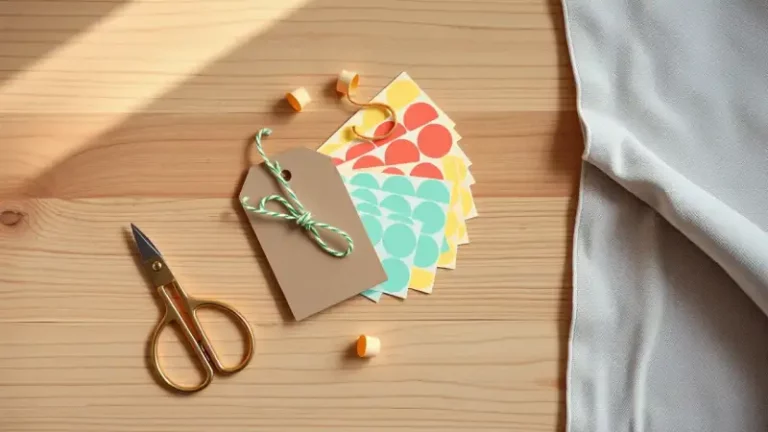
A banner is an easy way to bring your palette to the wall. Use scrapbook cards or heavy cardstock in the colors you picked, and cut each one into a pennant or a rectangle. Punch two holes at the top of each piece and thread them onto twine or ribbon, leaving a little space between them. Mix patterned and solid pieces, and hang the banner so it dips in a gentle curve.
If you use a 4×6 card for each piece, you can also slide a few extras into frames and add graphic pattern to the wall.
Frame art in a consistent style
- Use frames in one finish, such as white or black, so mixed art still looks tidy.
- Include one print with a meaningful poem or short verse, set in a simple typeface.
- Add a monogram of the baby’s first initial. It makes a sweet focal point and does not require a final name decision.
- Try a black-and-white canvas in a graphic pattern to balance the color around it.
Stitch a hoop
Embroidery hoops are a fun way to add texture. Stretch a piece of fabric tight in a wooden hoop, trace or draw a short word or a letter on it, and stitch over the lines with bright floss. Trim the extra fabric on the back, and glue it down or run a gathering stitch so it stays flat. One hoop with a monogram and another with a favorite word make a nice pair.
Hang a mobile away from the crib
A handmade mobile is the most time-consuming piece, so give it a place of honor. Keep it out of the baby’s reach: hanging it over a changing area, not the crib, avoids the chance that she will grab it and pull it down later. Make the pieces light, such as felt shapes or paper, and attach them to a hoop or a dowel with thread of varying lengths.
Furniture and layout
A single wide dresser can replace the old crib, dresser and changing table set. Put a changing pad on top, and it will still be useful once the baby is out of diapers. Keep the top drawer nearest the glider for the things you’ll want at 2 a.m.: burp cloths, bibs, spare pacifiers and a few small extras.
A comfortable chair is worth more than a matching one. If yours is a neutral tan, bring in color with pillows. A polka dot pillow beside a heart-print one echoes the crib sheet and ties the seating corner to the rest of the room.
Leave room for what you plan to add later. A white-framed mirror over the changing area is a good future project, and the room will look finished without it.
Variations and personal touches
- Shared keepsakes. Invite older siblings to place a favorite doll, a toy car or a few picture books on the shelf or dresser. Passed-down toys give the space a family feel.
- Rotating kid art. Hang siblings’ drawings on a strip of washi tape. It holds the paper in place, peels off cleanly, and lets you swap in new pictures whenever there is a new masterpiece.
- A going-home outfit. Hang the first outfit on a small hanger from a hook or the closet door so it is ready. It’s fine to change your mind a few times.
- Other palettes. The same plan works with mint and gray, or with navy and orange. Keep the structure and swap the colors.
Tips before you start
Lay the banner, frames and hoops on the floor and arrange them before you hang anything. Trace each piece on paper, cut the paper to size and tape it to the wall to test the layout. That way you can move pieces around without making extra holes.
Finish one handmade project at a time, beginning with the pieces above the crib. Anything not done by the due date can wait, and the room will still feel complete.
Use secure hardware for anything above a crib or changing area, keep cords and ribbons short and well out of reach, and ask an adult to handle any tools, nails and hot glue.