Brite Start Teacher Gift Tags with Highlighters
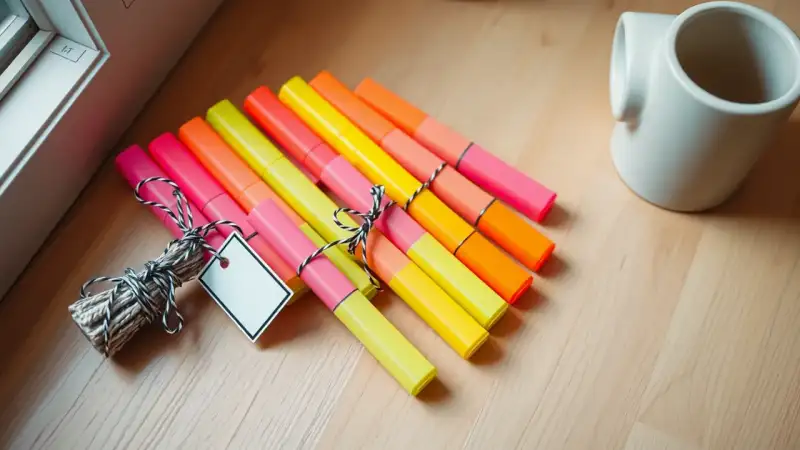
Picture a small tag in neon pink, yellow, green and orange, framed by a black border and tied with black and white twine around a bundle of highlighters. That is a Brite Start teacher gift: a cheerful, useful present for the first week of school.
The “brite” idea is simple. Pair a tag with something bright and practical, such as a set of highlighters or neon permanent markers. Teachers go through these quickly, so the gift will get used.
Where this gift fits
This works best as a welcome-back gift handed over in the first days of school. It is also a good fit for a class gift, because the tags are quick to make in batches. Each one costs little, and a stack of them looks tidy when you hand out several.
The black mat is the key. It adds sturdiness and makes the neon shades stand out. The black and white twine keeps the look crisp instead of babyish, so it suits teachers of any grade.
How to make the tags
What you need
- White or light card stock for the tag
- Black card stock for the mat
- Highlighters or neon markers
- Black and white baker’s twine
- Scissors or a paper trimmer, a glue stick or double-sided tape, and a hole punch
Steps
- Design the tag. A good size is about 2 by 3.5 inches, but anything that fits your bundle will work. Write or print a short message on it. Something like “Thanks for making this year bright” or “Have a bright start to the school year” fits the theme. Use a bold font and keep it to one or two lines.
- Add color. Make a row of neon dots or stripes along the top or bottom edge. Use your own highlighters to draw them, so the tag matches the gift.
- Trim the tag neatly along its edges.
- Cut a piece of black card stock about 1/4 inch larger than the tag on every side. Glue the tag in the middle so the black forms an even border.
- Punch a hole in one top corner, through both layers.
- Gather the highlighters in a bundle. Thread the twine through the hole, wrap it around the bundle a couple of times and tie it in a bow or a knot.
If you would rather print the tags, make the design in any design app. Print on card stock, trim and mat as above. Print a few extra in case of trimming slips.
Variations
- Use neon permanent markers in place of highlighters for a bolder set.
- Slip the tag onto a pack of sticky notes or a pad of paper if you want a different gift.
- Make a mixed bundle with one highlighter, one marker and a pen.
- Choose one neon color per tag for a coordinated look, or a rainbow row for a livelier one.
Mistakes to avoid
- Skipping the mat. Plain printer paper curls and bends under the weight of a bundle. The black card stock layer fixes that.
- Using a thin twine or a loose knot. Wrap it a couple of times and tie it firmly so the pens do not slide out.
- Crowding the tag. Bright colors already do a lot of work, so keep the wording short.
- Uneven borders. Measure the mat with a ruler and trim it in one go. A paper trimmer gives cleaner edges than scissors.
- Leaving it late. Make the tags a few days ahead, so you can attach the gifts on the morning of the first day without a rush.
Check that markers are capped and that the ink is dry on any hand-drawn color before you glue the layers together. Smudged neon shows clearly on a black border.