Chalky Halloween Mason Jar Luminaries
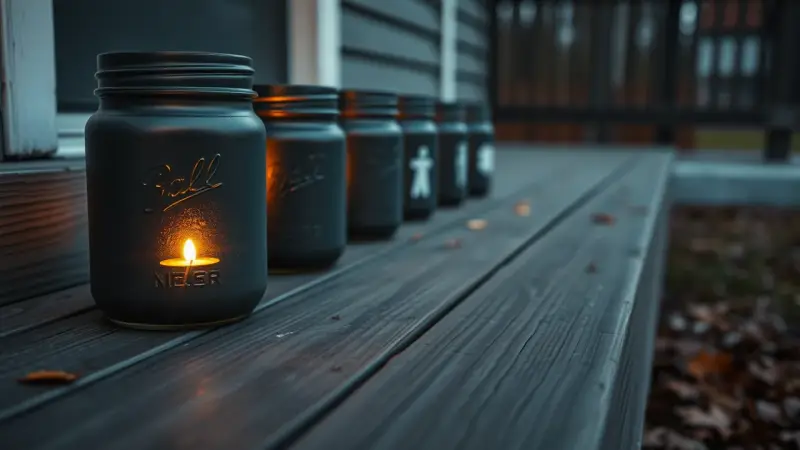
These luminaries are matte, velvety jars with creepy silhouettes. Each design shows up as a soft white shape against a dark, chalky background. A battery tea light inside makes the jar glow gently and shows off the painted finish.
The look comes from layering. A white base coat goes on first, vinyl shapes act as a mask, and darker chalk-style paint covers everything. When you peel the vinyl off, the white shapes appear. Here is how to make them.
Where they fit
A pint jar is a good size for a mantel, a windowsill, a front step or the middle of a party table. A row of four or five jars with different characters makes a spooky display. Because the lights are battery-powered, the jars are also safe to set on a snack table or in a kids’ room. There is no open flame to worry about.
Making one jar per character also works well as a party activity for older kids, with an adult handling the cutting.
Supplies and steps
- Pint-sized mason jars, clean and dry
- A cutting machine such as a Cricut, plus a Halloween character cut file sized for pint jars
- Removable vinyl in any color, since it is only a mask
- Transfer tape or adhesive plastic wrap
- Chalky finish paint in white, plus a darker shade such as gray or charcoal
- Clear creme wax made for chalky paint
- Foam brushes
- Battery-operated tea lights
- Cut your shapes from the vinyl. Ghosts, bats, spiders and cats all work well.
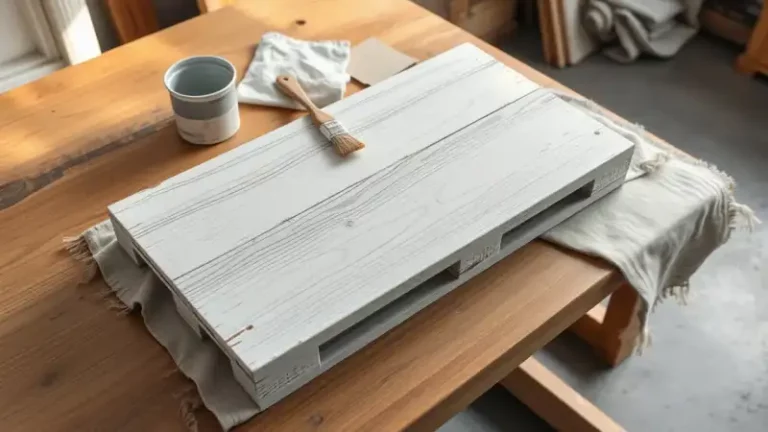
- Brush one thin coat of white chalky paint on each jar and let it dry completely.
- Press each vinyl shape onto a dry jar using transfer tape or plastic wrap. Smooth it down, especially the edges and thin parts, then lift the carrier away.
- Cover the whole jar, vinyl included, with the darker paint. Apply three generous coats and let each dry before starting the next.
- When the last coat is fully dry, peel the vinyl away slowly. The white shape underneath is revealed.
- Rub a light layer of creme wax over the jar with a clean foam brush to seal the paint. Let it dry completely.
- Drop a battery tea light inside.
Mistakes to avoid
Painting over damp layers. Wet paint under vinyl can lift or smear when you peel. Let the white base dry fully before you apply the shapes, and let the dark coats dry before the next one.
Skipping the edge press. If the vinyl isn’t firmly down, dark paint can creep underneath and blur the outline. Rub along every edge before painting.
Pulling the vinyl too fast. Peel slowly and keep the vinyl close to the jar so thin details such as spider legs stay crisp. If a spot of dark paint sneaks under, a little white paint on a small brush fixes it once the jar is dry.
Applying too much wax. A thin coat is plenty. Heavy wax can leave the finish streaky, so buff or smooth it lightly with the foam brush.
Using one coat of dark paint. One coat tends to look patchy and lets the glow show through unevenly. Three coats give the jar a solid, even look that makes the white shapes stand out when lit.
If you don’t have a cutting machine, you can cut simple shapes by hand from adhesive vinyl or sticker paper with a craft knife. Keep the designs bold and simple, and have an adult handle the blade.
For a varied set, paint some jars in one dark shade and others in a second shade. Pair each with a different character so no two look alike.
Keep the jars indoors or on a covered porch, since chalky paint isn’t meant to stay out in the rain. Wipe them gently with a dry cloth when you pack them away, and they’ll be ready for next October.