Project Life for Beginners: Setting Up Your First Album
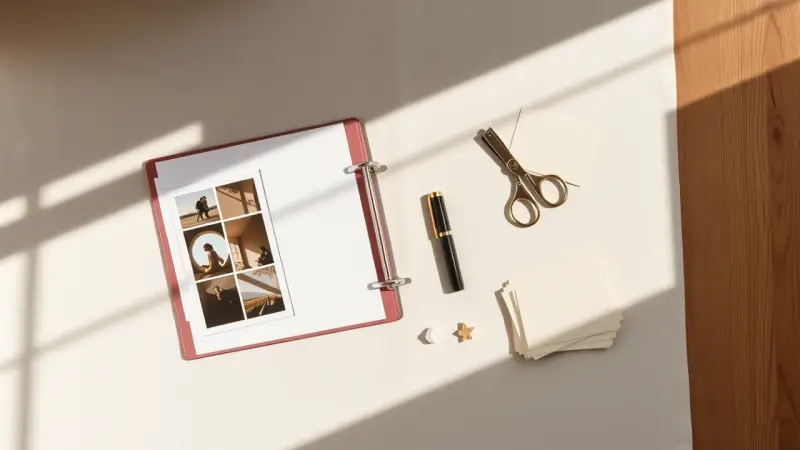
A finished Project Life spread looks like a tidy grid of photos and colorful cards tucked into clear pockets, with no glue, scissors or paper cutting involved. It is memory keeping for people who love their pictures but never finish a traditional scrapbook. Becky Higgins created the system to cut out the design decisions.
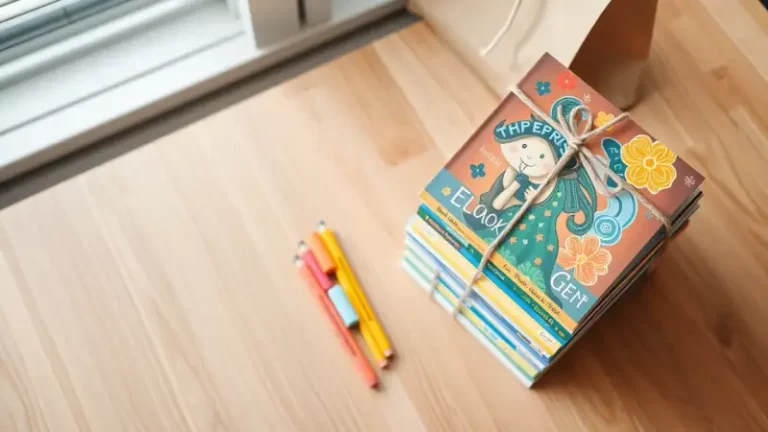
For a first album, you need just three things: an album, photo pocket pages and a core kit. The three basics are a binder, a core kit and a pack of photo pocket pages, sold separately. Add your printed photos and a pen, and you can begin.
What to gather before you start
- An album. The standard binder is 12 by 12 inches with three rings. Smaller albums exist, including 6×8 and 8×8 sizes, if a big album feels like too much.
- Pocket pages. A Design A page is 12 by 12 inches, with 4×6 horizontal pockets and 3×4 vertical pockets. Many other pocket layouts are available.
- A core kit. A core kit holds 616 cards, including 3×4 journaling cards, bi-fold cards, first and last page cards, and 4×6 title cards. That is enough to fill a 12×12 album.
- Photos. Print them at 4×6 inches, with a few at 3×4 if you like, so they match the pocket sizes.
- A pen for journaling on the cards.
Prefer to work on a phone? The free Project Life app lets you build pages, and printed pages go into page protectors in an album. The finished album looks much the same either way.
Build your first layout
- Choose one small theme, such as a weekend, a month or a single trip. A narrow focus makes the first album easier to finish.
- Pick a core kit with a color palette you like, so every page looks coordinated without effort.
- Slide a title card into the first pocket page to mark the start of the album.
- Lay out your photos on the table by pocket size. Put the best images in the 4×6 pockets and smaller moments in the 3×4 slots.
- Fill the remaining pockets with journaling cards. Choose cards whose colors echo the photos next to them.
- Write a few lines on each card: who was there, what happened, and what you want to remember. Short notes are plenty.
- Slide everything into the pockets, then clip the page into the album.
Keep going until the album is done
The system works best in small sessions. Complete one or two pages at a time instead of waiting for a free afternoon. Keep your photos, cards and pen together in a box so you can sit down and work in minutes.
Think beyond photos, too. Tickets, notes and small keepsakes can sit in a pocket just like a card. If a pocket is empty and you have no photo for it, a journaling card or a title card fills the space neatly.
You do not have to use every card in the kit. A big kit is meant to give you choices, so leave the cards you do not love in the box for a later album.
Variations
- Use a hybrid approach, with some pages made in the app and others slipped in by hand.
- Add a few 6×8 pocket pages for special events in the middle of a larger album.
- Mix pocket designs. If your page protectors are two-sided, keep similar layouts across facing pages for a cohesive look.
FAQ
Do I need special tools or scrapbooking experience?
The system needs no glue, no scissors, no tools and no previous experience.
Should I buy everything at once?
Not necessarily. You can begin with one album, one pack of pocket pages and one core kit, then add other sizes or kits once you know what you enjoy.